Collect 30x Total CT Money®* on almost everything, Friday, June 14. Triangle Credit Card Exclusive. *Conditions apply.
Learn MoreOBTENEZ AU TOTAL 30X L’ARGENT CTMD* sur presque tout le vendredi 14 juin. Exclusivité de carte de crédit Triangle. *Des conditions s’appliquent.
En savoir plusBuy One Get One Free on Selective Products Only
Know More

How to stain a deck
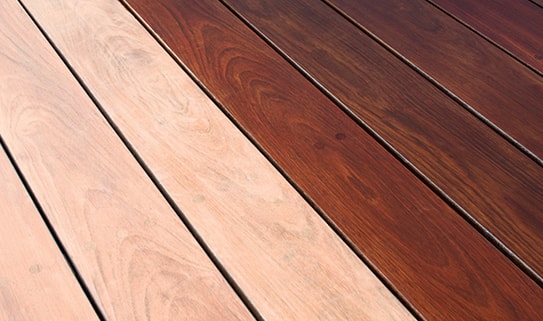
Cleaning and applying a protective coat of stain can not only extend the life of your deck, but also give it an updated look.

STEP 1
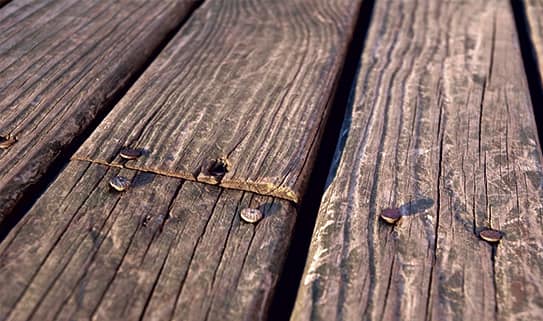
Inspect the condition
If your deck was built using new wood, allow the wood to cure for at least 4-8 weeks before staining. For pressure treated wood, do not treat for 1 year after installation. If composite wood was used, you should check for moisture repelants or sealers, which can prevent adhesion. For decks with old wood, replace any visibly rotting or decayed pieces.
STEP 2
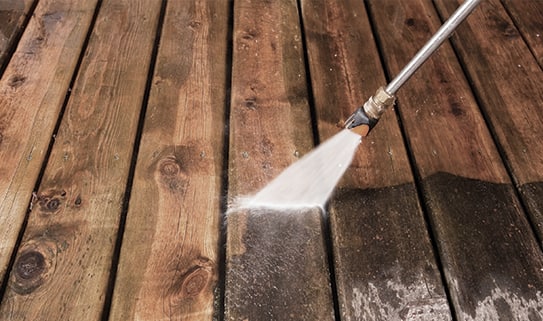
Clean your deck
Get your deck ready for staining by using a deck cleaner or deck stripper to clean it. For previously stained or sealed surfaces you will need to use a deck stripper to allow for proper adhesion
STEP 3
Choose your coating
A solid colour stain will have a solid finish, hiding any wood grain, and offer the best protection against moisture and UV rays. Semi-transparent stain will show most of the wood grain. These stains provide some protection from the elements, but the lifespan will generally be shorter than solid stains. Clear finishes provide limited UV protection, but allow the natural grain and colour of the wood to show through. These finishes are most widely used when staining high-quality exotic woods.
STEP 4
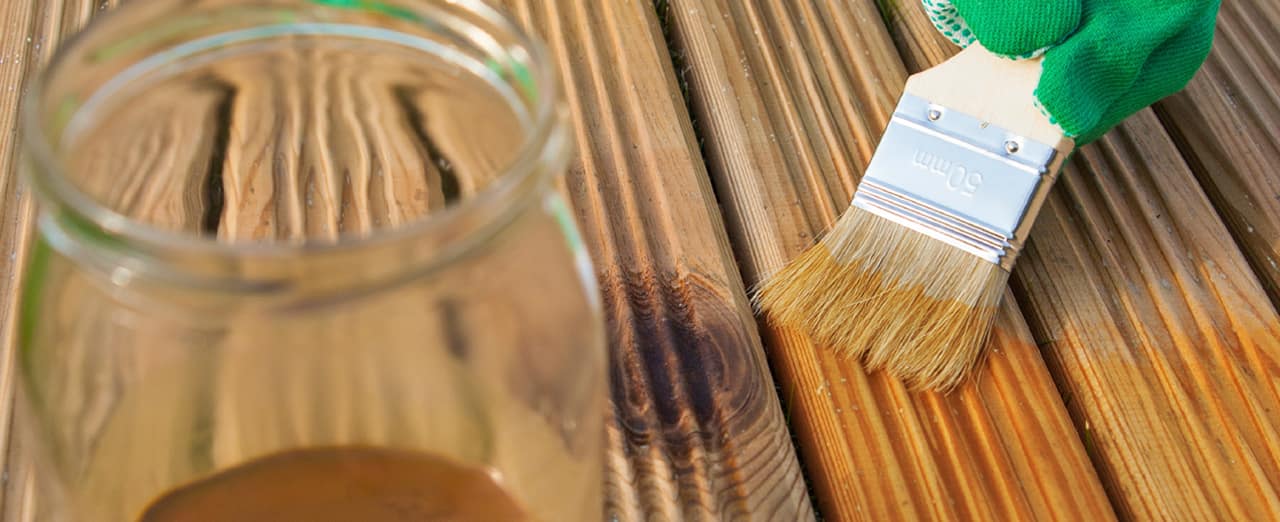
Start staining
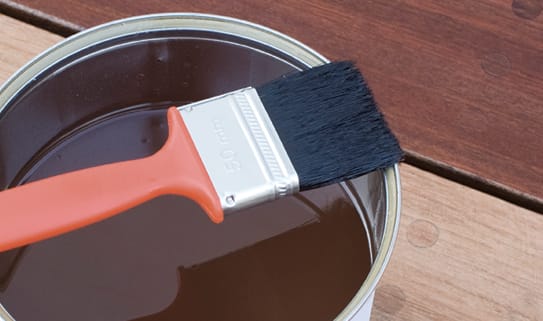
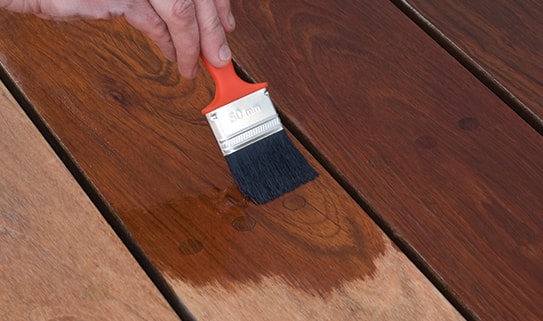
To start, use a brush to stain vertical surfaces and intricate areas. For horizontal surfaces, complete entire length of board before moving on to the next. Be sure to back brush, working the paint into all the wood’s natural crevices and between deck boards, for even application.
STEP 5
Work in sections
If you have to take a break, finish the deck boards you're working on so that you don't leave a line when you start work again. If you are applying a water seal product, you can brush it on or use a sprayer to get the job done quickly.
